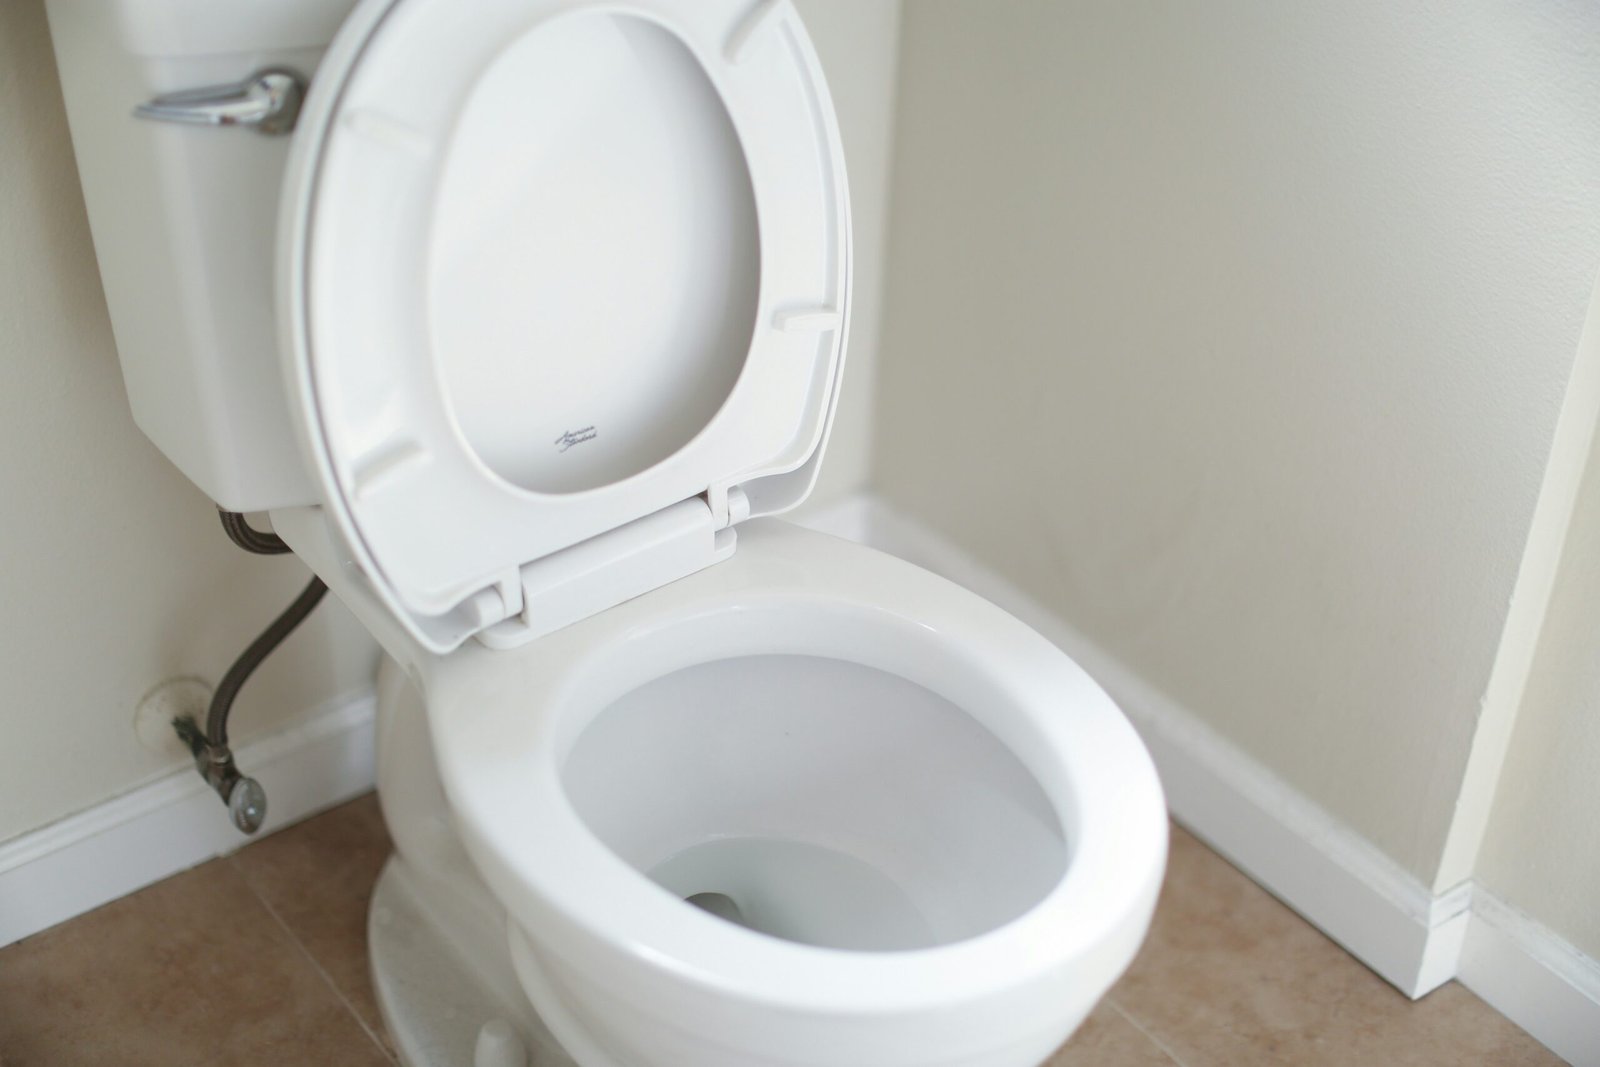
Toilet Won’t Flush? Here are 7 Fixes
Reading time: 7 – 8 minutes
Skill level: Beginner
Cost: $0 to $30+
A toilet that won’t flush can fail for several different reasons, but most are fairly easy to diagnose.
If pressing the handle does nothing, the problem may be the handle, chain, or flush valve. If the toilet flushes weakly, the tank may not contain enough water, the flapper may not be opening properly, or mineral deposits may be restricting the flush. If the bowl fills but drains slowly, you probably have a clog.
The fastest way to find the problem is to watch what happens inside the tank while you operate the handle. From there, you can usually tell whether the problem is in the tank or the drain.
This guide applies mainly to standard gravity-flush toilets. Push-button, dual-flush, canister, and other toilet designs use different mechanisms, so the parts may look different.
Quick answer
If your toilet won’t flush:
- The handle moves but nothing happens: Check the chain or other connection between the handle and flush valve.
- The toilet flushes weakly: Check the tank water level, flapper, and rim or jet openings.
- The bowl fills but drains slowly: Treat it as a partial clog.
- The bowl rises toward the rim: Stop flushing and close the flapper or shut off the water supply.
- There is little or no water in the tank: Check the shut-off valve and fill valve.
Start by removing the tank lid and watching the mechanism while you press the handle.
Project summary
| Item | Details |
|---|---|
| Time required | 5 to 30 minutes |
| Skill level | Beginner |
| DIY cost | $0 to $30+ |
| Tools needed | Gloves, flanger plunger, possibly a toilet auger and screwdriver |
| Most common cause | Clog, disconnected chain, low tank water, or faulty flushing components |
Diagnose the problem first
Before taking anything apart, identify what the toilet actually does when you try to flush it.
| What happens | Likely cause | First thing to check |
|---|---|---|
| Handle moves, but nothing happens | Disconnected or broken chain/linkage | Inside the tank |
| Handle feels loose or spins freely | Broken handle assembly | Handle and tank lever |
| Toilet flushes weakly | Low tank water, flapper problem, or restricted rim/jet openings | Tank water level and flapper |
| Bowl fills but drains slowly | Partial clog | Flange plunger |
| Bowl fills and approaches the rim | Significant clog | Stop flushing; plunge or use an auger |
| Little or no water in tank | Closed valve or fill valve problem | Supply valve and fill valve |
Before you do anything: Prevent an overflow
If the bowl is already high with water, do not flush again.
A second flush can send more water into a bowl that is not draining.
If the water level is close to the rim:
- Remove the tank lid.
- Push the flapper closed if it is open.
- Turn the toilet’s shut-off valve clockwise to stop the water supply.
- Wait for the bowl level to fall before continuing.
If you cannot easily operate the shut-off valve, don’t force a badly corroded valve. You may need to shut off the home’s main water supply instead.
Fix 1: Check the chain
If pressing the handle produces little or no response, look inside the tank.
The chain or linkage connects the handle mechanism to the flapper or flush valve. Check whether it has:
- Slipped off the handle arm
- Become tangled
- Broken
- Too much slack to lift the flapper properly
Reconnect the chain and test the flush.
There should be a small amount of slack, but the exact amount depends on the toilet and flapper design. Some manufacturers specify around ½ inch, while others recommend only one or two links of slack. The important thing is that the flapper opens properly when you press the handle and still seals completely afterward.
If the chain is broken or badly corroded, replace it rather than trying to repair it.
Fix 2: Check the water level in the tank
A gravity-flush toilet needs enough water in the tank to produce a strong flush.
Remove the tank lid and let the toilet finish filling. Check the water level against the overflow tube.
For many standard tank toilets, the refill level is set about 1 inch below the top of the overflow tube, although the correct level can vary by toilet and fill-valve design. Follow the markings or adjustment instructions for your particular valve if they are provided.
If the water level is too low, adjust the float or fill valve according to its design.
Cup-style float
Many modern fill valves use a float cup. The adjustment may be a screw, clip, or other mechanism rather than something you bend by hand.
Raise the water level gradually, then flush and check the result.
Older Ball-and-arm float
Some older fill valves use a float ball attached to an arm. Depending on the valve, the arm may be adjustable.
Don’t force the mechanism. If you’re unsure how your particular fill valve adjusts, check the manufacturer’s instructions.
Fix 3: Check whether the flapper opens fully
If the tank has enough water but the flush is weak, watch the flapper while pressing the handle.
The flapper should lift enough to allow the tank water to enter the bowl properly.
If it barely lifts:
- Check for excessive chain slack.
- Move the chain connection to the appropriate hole on the handle arm.
- Check that the chain isn’t tangled.
- Inspect the flapper for damage or deterioration.
A flapper that closes too quickly can also produce a weak or incomplete flush. Chain adjustment and flapper design both affect how long the flush valve stays open.
If the flapper is cracked, warped, deteriorated, or no longer sealing properly, replace it with a model compatible with your toilet.
EPA WaterSense notes that worn toilet flappers are a common cause of toilet leaks and recommends checking them periodically.
Fix 4: Clear a clogged toilet
If the bowl fills but the water drains slowly or doesn’t drain at all you likely have a blockage.
Don’t keep flushing.
Start with a flange plunger, which is designed to seal against the opening of a toilet.
How to use a toilet plunger
- Make sure there is enough water in the bowl to cover the plunger head.
- Place the flange firmly over the drain opening.
- Push down gently at first to avoid splashing.
- Pump the plunger firmly several times while maintaining the seal.
- Finish with a firm upward pull.
- Wait for the water level to fall before testing the flush.
A dedicated toilet plunger with a flange provides a better seal than a flat sink plunger.
If plunging doesn’t work
Use a toilet auger, also called a closet auger.
Feed the auger into the toilet trap and turn the handle while pushing it forward. When you reach the blockage, continue turning to work through it or retrieve the obstruction, depending on the auger’s design.
If the auger cannot clear the blockage, or the toilet repeatedly clogs, stop forcing it. The obstruction may be farther down the drain.
Don’t use ordinary chemical drain cleaners in a toilet. Products such as Drano and Liquid-Plumr specifically warn against using their standard clog-removal products in toilets.
Fix 5: Replace a broken toilet handle
If the handle feels loose, floppy, or spins without lifting the flush mechanism, the handle assembly may be broken.
Remove the tank lid and watch the lever while pressing the handle.
If the handle moves but the lever inside the tank doesn’t lift the chain properly, replace the handle assembly.
To replace it:
- Shut off the water if necessary.
- Remove the chain from the old handle arm.
- Loosen the mounting nut inside the tank.
- Remove the old handle.
- Install the new handle.
- Reconnect the chain with a small amount of slack.
- Test the flush.
Important: Toilet-handle mounting nuts can use a reverse thread, depending on the handle design. Don’t assume the nut loosens counterclockwise. If it doesn’t move normally, check the replacement instructions rather than forcing it.
Fix 6: Check the water supply valve
If there is little or no water in the tank, check the shut-off valve behind the toilet.
Turn the valve counterclockwise to open it.
Then wait for the tank to refill.
If the valve is open but water still doesn’t enter the tank, the fill valve may be clogged or faulty.
Before replacing it, check that the supply hose isn’t kinked and that the shut-off valve is actually allowing water through.
If the fill valve needs replacement, use a model that is compatible with your toilet and follow the manufacturer’s installation instructions.
See: How to replace a toilet fill valve
Fix 7: Check for clogged rim or jet openings
If the tank mechanism appears to work normally but the flush is still weak, mineral deposits or debris may be restricting the openings that deliver water into the bowl.
Look underneath the toilet’s rim for the small openings where water enters during a flush. Some toilets use different jet or flushing designs, so the exact arrangement varies.
Mineral buildup around these openings can reduce the amount of water entering the bowl and contribute to a weak flush. Toilet-repair guidance from Korky and Fluidmaster identifies restricted rim or jet openings as a possible cause of weak flushing.
Clean accessible deposits carefully with a suitable toilet-cleaning method. Avoid aggressively scraping the porcelain with metal tools.
If cleaning the openings does not improve the flush, the problem may be inside the flush valve, trapway, or drain.
Why your toilet won’t flush but isn’t clogged
Not every flushing problem is a drain blockage.
A toilet can fail to flush properly even when the bowl drains normally.
Common causes include:
- Disconnected or tangled chain
- Broken handle
- Low tank water level
- Flapper that doesn’t open fully
- Incorrect or damaged flapper
- Faulty fill valve
- Restricted rim or jet openings
- A problem with the flush valve
One useful test is to see how the bowl behaves when you pour water into it carefully. If the bowl drains normally but the toilet doesn’t produce a normal flush through its tank mechanism, the problem is more likely to be in the tank or flushing mechanism than in the drain.
Common mistakes to avoid
- Flushing repeatedly – If the bowl isn’t draining, repeated flushing can cause an overflow.
- Setting the water level too high – The water should remain below the top of the overflow tube. Follow your fill-valve or toilet manufacturer’s adjustment instructions.
- Leaving too much chain slack – Too much slack can prevent the flapper from opening properly.
- Making the chain too tight – A chain with no slack can interfere with the flapper sealing completely and may contribute to a running toilet.
- Using a sink plunger – A flange-style toilet plunger is better suited to the shape of a toilet drain.
- Using chemical drain cleaner – Standard chemical drain cleaners are generally not intended for toilet clogs. Use a toilet plunger or auger instead.
- Replacing parts without diagnosing the problem – A toilet that won’t flush doesn’t automatically need a new fill valve or flapper. Watch the mechanism first, so you replace the part that’s actually causing the problem.
What if the toilet flushes slowly or weakly?
If the toilet technically flushes but doesn’t clear the bowl properly, work through these checks in order:
1. Check the tank water level.
Low water can reduce flushing power.
2. Check the flapper.
Make sure it opens properly and doesn’t close too quickly.
3. Check the chain.
Too much slack can prevent the flapper from lifting enough.
4. Check the rim or jet openings.
Mineral deposits can restrict the water entering the bowl.
5. Look for a partial clog.
Try a flange plunger and then a toilet auger if necessary.
6. Consider a deeper plumbing problem.
If the toilet repeatedly clogs, gurgles, or drains abnormally, the issue may be farther down the drainage system.
Korky’s current troubleshooting guidance similarly points to the flapper, fill-valve water level, refill tube, and rim jets as common causes of weak flushing.
Costs
DIY costs depend heavily on the part and toilet model, but many common fixes are inexpensive.
| Fix | DIY cost |
|---|---|
| Reconnect chain | $0 |
| Replacement chain | A few dollars |
| Adjust float or fill valve | $0 |
| Replacement toilet handle | $10 to $20 |
| Replacement flapper | $5 to $20 |
| Toilet plunger | $10 to $20 |
| Toilet auger | $20 to $50 |
| Replacement fill valve | $10 – 30 |
Prices vary by brand, toilet model, and where you buy the part. Check the toilet’s manufacturer and model information before buying replacement components.
When to Call a Plumber
A DIY fix makes sense for a simple clog or tank-component problem. Call a professional if:
- A plunger and toilet auger cannot clear the blockage.
- The toilet repeatedly clogs after being cleared.
- Multiple fixtures are draining slowly or backing up.
- The toilet gurgles when another fixture drains.
- Sewage backs up into the tub, shower, or another fixture.
- The toilet or drain has a persistent leak you cannot locate.
- The problem appears to be in the main drain or sewer line.
- You need to remove the toilet to reach a suspected obstruction.
A properly functioning plumbing vent system helps maintain the air pressure needed for a gravity drainage system. Persistent gurgling or drainage problems affecting multiple fixtures can therefore warrant professional investigation rather than repeated plunging.
Frequently asked questions
1. Why does my toilet flush but take a long time to empty?
A toilet that flushes but drains slowly may have a partial blockage in the trapway or drain. Start with a flange plunger. If that doesn’t solve the problem, try a toilet auger.
2. Why does my toilet handle work but only a small amount of water enters the bowl?
Check whether the flapper is opening fully and whether the tank water level is high enough. Also inspect the bowl’s rim or jet openings for mineral buildup.
3. Why did my toilet suddenly stop flushing?
Sudden failures are usually caused by:
- A disconnected or broken chain
- A broken handle
- A clog
- A fill-valve problem
- A closed water-supply valve
4. Can a blocked vent cause flushing problems?
A plumbing vent problem can contribute to drainage problems and gurgling because the drainage system needs proper venting. However, a clog or tank-component problem is usually a more appropriate place to start troubleshooting.
5. How do I know if my toilet flapper is bad?
A worn or damaged flapper may fail to seal properly, causing the toilet to run or leak water from the tank into the bowl. You can also perform a simple dye test: put a few drops of food coloring in the tank and wait about 10 minutes without flushing. If colored water appears in the bowl, the toilet is leaking.
Related articles
- How to Replace a Toilet Flapper
- How to Replace a Toilet Fill Valve
- How to Stop a Toilet From Overflowing
- Why Does My Toilet Keep Running After Flushing?
- How to Unclog a Toilet Without a Plunger
- The Complete Guide to Home Plumbing
Sources
- EPA WaterSense – Home Maintenance – toilet efficiency and household water usage
- Plumbing-Heating-Cooling Contractors Association (PHCC) – residential toilet repair standards
- International Residential Code (IRC) Section P2601 – residential plumbing fixture requirements